Pre requisites of Malware Reversing Workshop

Show transcript [en]
[Music]
e
PM Pakistan time but here we have today Mr Muhammad isad with us he is a lead research engineer with t Security and he has more than seven years experience in malware analysis malware reverse engineering and uh thank you Mr isad for joining us today and Mr isad and Mr um uh they will be actually your instructors on 6th and 7th uh November on Friday and Saturday and they will be taking you through uh Core Concepts of malware analysis malware reverse enging and they will take a deep dive into the you know the malware world so if you have not already joined our Discord channel uh please join our Discord Channel lots of new things happening over there we are
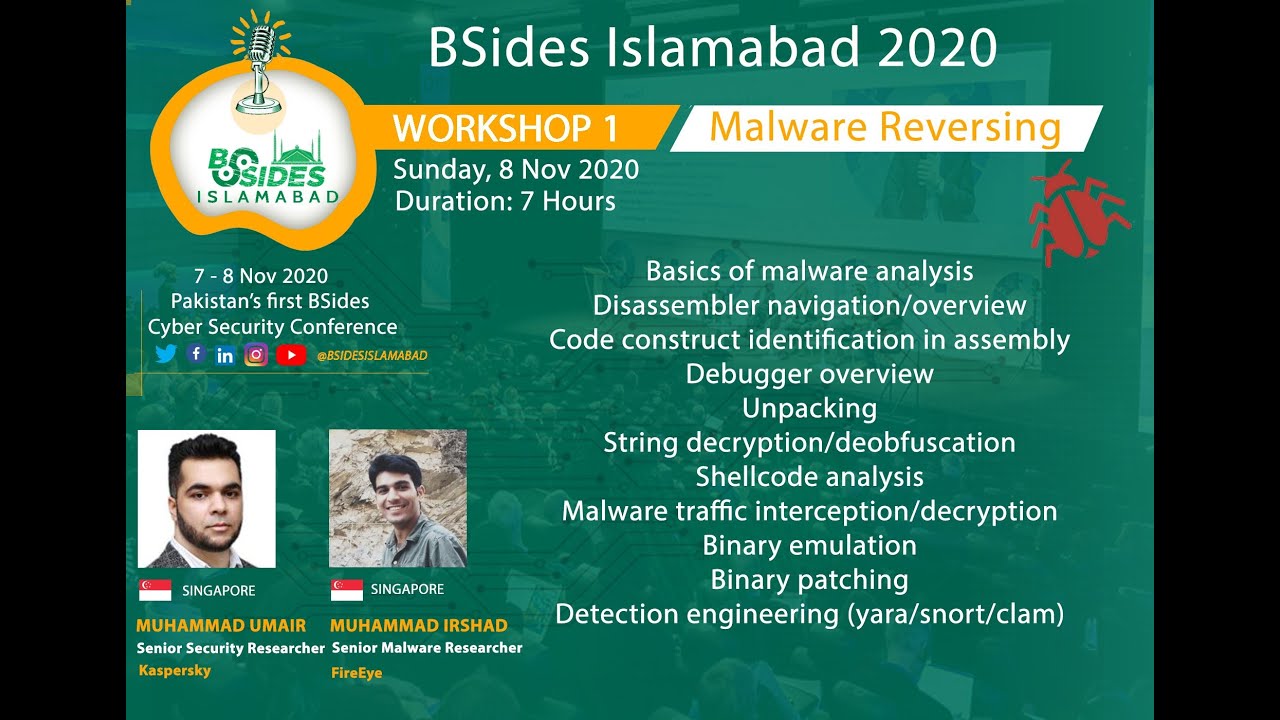
discussing a lot of things over there and I will now hand over to Mr Asad here you go Mr ashad hi thank you very much Ali for handing it over to me and so my name is isad as Ali has introduced me and today we will go through the basic topics that we will cover in our workshops and the lab setup and I will also give you a teaser of the lab that we will do in our Workshop so basically the main purpose of this Workshop is to provide beginners our students a heads up start in the malware analysis malare analysis is one of the most high in demand skills in cyber security and it is the entry
barrier for this for this skill is usually very high so our main purpose in this in this Workshop would be to make that barrier as easy as as easy as possible to hop so these are the list of the topics that we will cover so this include basics of the malware analysis we will go through the basically code disassembler we will give you you the basic introduction of the uh this this assembly and the assembly instruction and after that we will help you identify the code construct such as the for Loops if Loop if or the while loop and after that we will move on to the debugger overview so debugging is one of the key thing that you will be
using in your malware analysis so we will give you a very good overview of that after that we will move to the unpacking and the string doation so malware often known tocate strings that they use and we will give you a overview of some of the advanced malwares and how they off State string and how can we overcome that after that we will move on to Shell Code analysis so shell code is most oftenly used in the exploits and uh a lot of also malware also make use of Shell Code to do a lot of things such as load new PE files or inject code into other processes so over this overview will be basic but main purpos is to get you
introduced to the Shell Code and how can you start analyzing it after that we will move on to the uh we will take an apid malware and help you how can you basically intercept it this encrypted traffic and how can you decrypt it then we will move on to some two of the advanced topic binary emulation and the binary patching so we will discuss the details of these topics in the workshop and at last we will discuss the detection engineering so malware's detection will be will always be a key part of any malware product so so here we will take you through the mostly the two most famous engine so Yara and the snot and we might also
touch on clam time permits so the Yara is mostly used for static detection while the snot is mostly used for Network base detection so after now the overview of the workshop is complete let's move on to the prerequisite documents or the setup that you need to have before coming to the workshop so this is lab preparation guide which is mainly prepared by me but I really want to thank Muhammad Hass for putting an effort to find refine every detail he personally tested it so the basic things these are the basic mainly what we will be doing we'll be taking the Windows 7 and installing two most famous VMS that are help you in Mal analysis so on
Windows 7 we will be installing a flare VM so you can go so the link of Link are present in the workshop uh in the document and this is this contains all of the free tools and most important tool that you will be using every day in the malware analysis and so second VM that we will use is the RX it's a Linux Bas VM basically uh maintained by the Len alster so you guys can go and visit his profile one of the most famous malare researcher and also an instructors of the sand course now let's move on to our uh steps that we will take the number first step is the create a window 7 VM that is easy
if you have work with the VM station if you have not worked there are a lot of videos available on YouTube that will help you through this next next thing is like update Windows so you will just simply go through the update install as many updates possible so the mainly you will need to install all of the necessary updates if you also want to install the optional updates that's up to you but we are mainly concerned about security updates and all of the mandatory updates and after that more of most of this because we are going to use this machine for the malware analysis so antivirus and the firewall often make it hard for the Mals to do their work so what we are
going to do is to disable these two engines so we have provided you the links here which which can help you disable it and the next step would be install the flare VM the flare VM is present here it has a detailed instruction so what will you do first you will install these two packages and these are basically some new requirements that this flare VM use to automate a lot of process and after that you will move on to this you download this script and then run the powers shell with as an administrator and then execute this command it will take care of the rest one important thing that I want to point out is that so the your VM
will start many times during the process so it's better to enable the auto login so that every time it restarts you don't have to provide your password and without password play VM won't be installed so you will need to set up a user account password so I usually recommend people to set up some easy password because this this is a VM I'm not going to be public facing so it's okay so after the VM is installed this is how your folder or the directory hierarchy will look so we will go through the details of some of the tools that are present in this directory number Workshop but other than that you can basically Google and find out yourself
so sometimes it happens because some of the tool don't get installed properly so during our testing on Windows 7 VM we find that sometime fake net NG is one of the most important tool that we will use doesn't get installed properly so we provide so what you do you just run the command prompt as administrator and execute this Comm on it will install and floss is another tool that was not installed during our testing so you can install it the next thing that we are going in our in our Workshop so we are going to be analyzing the shell code so that for this we will be using this very easy Shell Code to exit so it contains
some tools and a b script so you can just go one thing that and download it and save it in your in your on your windows VM and after that extracted you can try to run this bat script so shell c.x if you get any error so most of the time windows and this this have Linux uh Linux line endings so and the windows line ending are different so usually I think onec or LF is the Linux Windows line ending and Linux only contains one so if if if you face any problem I would recommend you to delete this shell code. XZ from your windows VM and create a new file using notepad notepad default Windows notepad
and copy it and paste all of the things and then just save so it will work so you guys can check it and after that let's move on to the next step so from there here so let's go to this
link so you will download this from you can either download from Google Drive or this upload upload files. and from after you have downloaded so one thing you might notice sometimes so the browser might so the file actual extension is Oba but the browser I it also during my testing it renamed it toov so it's a common mistake if you find that your file extension has been renamed toov you just rename it back to OVA and you can import it in the VMware Workstation or the VMware fure whatever you use so I have also given these instruction so these are the like instruction from the VMware you can just click on it and you face any issue but
most likely this is a very easy to you won't face any issues next thing is to install the snot not the same thing as I discussed before is the network based detection engine that will be that most of we will be using to detect the malare analysis traffic or the Mal traffic so it's installation is quite easy so thanks to muhamad Hassan for basically figuring out we were facing some issues and so he figured it out and so after get installed you do this and after that you can just test the settings using this so you can you need to install it on your ramn and after that this is uh file that I have placed on my Google
Drive and the password for this file is infected and I I recommend you to copy this file to your VM and only then extract it so you can copy into your windows VM or your MX VM it's up to your guys and we will it contains the peak cap that we will use uh to create signatures next is the cing the step seven is the cing framework cing framework is one of the most famous framework for Windows uh window binary emulation and so let's go and check it
out so this is the documentation so if you go into the overview uh installation introduction so it's basically CLA platform so Windows Mac OS this in most of the cases it has been really useful to us to doing the Mal analysis so just wanted to give you an introduction that if you facing some problem problem or you need to automate or something this type of Frameworks already exist so next we move on to the remx VM so fake not NG is default does not seem to work properly during our testing so there might be an issue with it so what we did we have given you instruction to install from the scratch so now we you
will have a fake net NG on your windows VM and on the remx VM now the next thing that we need to do or when you you will always be doing is whenever we analyze malware we don't let the malwares contact with the actual internet so what we do is we simulate we will be using Ram VM to simulate a network for our Windows VM to use so for example all of the network request DNS request TCP or UDP connection from our Windows VM will go to remx V and remx will simulate those uh simulate the request and we'll send the response back to the windows VM so this is all the your malware will be thinking it's
actually talking to the internet but in reality it will be talking to the REM xpm so this this step basically will cover that part so the first thing that we need to do is to convert our host only so previously it would be at the net net basically connect your VMS to the actual internet in the host only it won't connect your VM to the actual internet it will just create a small Network or small network interface that that is only that will only present on your host and it will have no connection to the Internet so the first thing okay we convert this okay both remx and the windows VM and then the second thing is
to make the static IP static so it is necessary for example in DNS request so we can whenever we receive a DNS requ we can just send back the remx VM so it will be easy for us so the I have do these are the there are multiple ways to make IP static on Linux so in our testing I find this to be most easy but if you know any other way to make the IP static please go and use that it's perfectly fine just need the static IP and that is all next so what we will do we also need to mix the windows IP static so the configuration is pretty standard configuration I think most most of you
guys have already done that if you don't know you can follow the instruction on this link and ultimately these are the for me in testing these are the configuration that I have used so now what we'll do is this is the we will start the inet Sim so inet Sim is basically a tool that will simulate some of the most important Services uh some of the most important services that are used that are present on the internet such as FTP SMTP HTTP so these are the protocols that you're whenever you're accessing these are the most used protocols so we do and then so the fake DNS is a tool that is present on remx VM
so it what do whatever the whenever it will receive a DNS request it will respond with the remx I okay now what we do is like to test that whether our system is working we do the Ping google.com so and you see pinging google.com in the DNS what the reply of Windows VM got is the IP of remx VM and now it is actually pinging the ramx VM and that's good so this this the installation of this Workshop the remx VM and flare VM will take a considerable time it require a lot of patience on your end so you guys if you are successfully reached to this point you should Pat on pat yourself on the B if
you don't so there are two options either you can throw your desktop or you can reach to us on the Discord Channel as Muhammad Ali has so yeah that is all for this session from my side handing it back to
Ali thank you Shad uh thank you for walking us through this was really good I hope everyone will really enjoy that there's a lot of fun coming in uh on the Mel vers engine Workshop so everyone who is registered for the mare vers engine Workshop will receive this document in a day by email you will receive an email from bid Islamabad and also as we mentioned join our Discord channel to join that fun and uh join the malare versus workshop and volunteers will be there actually to help you out in Discord Channel also subscribe to our uh uh YouTube channel as well and uh you will actually see a lot of you know uh sessions over there which will be
happening you know because we have just one week to go so we will have a lot of stuff coming up there as well so just keep an eye on our Facebook channel on our YouTube channel and active Community is there to help you in Discord as well and uh yeah we have just one week to go so we are very excited and hope you guys are very excited as well so this was it for today and thank you everyone who was listening and watching to us thank you have a good day bye [Music]
Related talks
 3:19:17
 4:37:44
 50:58
50:58 45:50
45:50 32:17
32:17 23:22
23:22